Top Cabinet Installation: The Ultimate Guide
Are you planning to give your kitchen or bathroom a makeover? If yes, then you’re probably thinking about installing new cabinets. And, let’s be real, who doesn’t love the idea of having sleek and modern cabinets that make their space look like a million bucks? But, have you ever wondered what goes into a top cabinet installation? Like, what’s the process? What are the benefits? And, most importantly, how can you ensure that your cabinets are installed correctly?
In this article, we’ll break down the process of top cabinet installation, discuss the benefits, and provide some tips on how to get it done right.
What is Top Cabinet Installation?
So, before we dive into the nitty-gritty details, let’s define what top cabinet installation actually means. Top cabinet installation refers to the process of installing cabinets above countertops, sinks, or stoves. These cabinets are usually taller and narrower than base cabinets, and they’re designed to provide additional storage and style to your space.
Benefits of Top Cabinet Installation
There are several benefits of top cabinet installation that make it a worthwhile investment for your home. Here are some of the most notable ones:
- Additional Storage: Top cabinets provide extra storage space for your kitchen or bathroom essentials, keeping your countertops clutter-free and your space organized.
- Aesthetic Appeal: Top cabinets come in a variety of styles, designs, and materials, allowing you to choose the one that complements your space’s decor and adds visual appeal.
- Increased Property Value: Installing top cabinets can increase the value of your property, making it more attractive to potential buyers if you decide to sell.
The Process of Top Cabinet Installation
Now, let’s talk about the process of top cabinet installation. Here’s a step-by-step guide to help you understand what’s involved:
Pre-Installation Checklist
Before you start the installation process, make sure to:
- Measure Your Space: Measure your walls, countertops, and ceiling to ensure that your cabinets will fit perfectly.
- Choose the Right Cabinets: Select cabinets that match your style, budget, and needs.
- Prepare Your Tools: Gather all the necessary tools and materials needed for the installation process.
Installation Steps
Here’s a general overview of the installation steps:
- Prepare the Wall: Clean the wall surface, remove any debris or old adhesives, and apply a coat of primer if necessary.
- Mark the Wall: Use a level and a pencil to mark the spot where you want to install the cabinet.
- Drill Pilot Holes: Drill pilot holes for the screws or nails that will hold the cabinet in place.
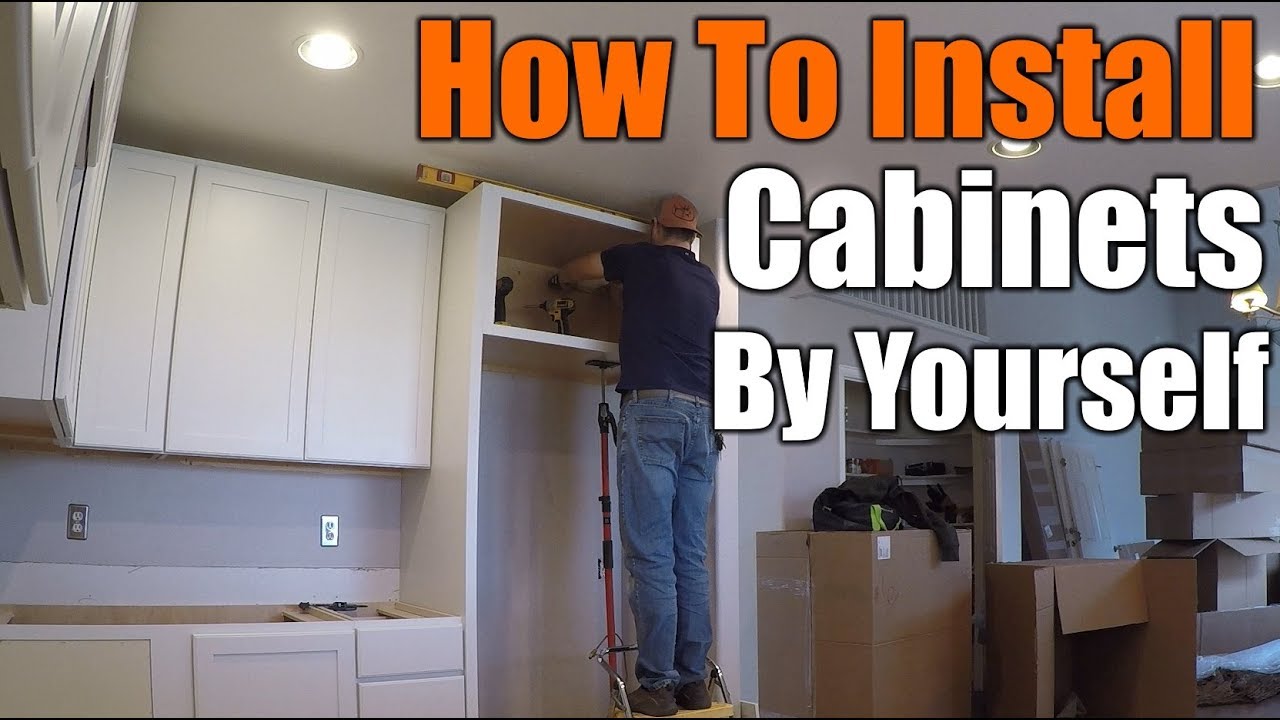
- Install the Cabinet: Mount the cabinet to the wall, making sure it’s level and secure.
Post-Installation Checklist
After the installation process is complete:
- Inspect the Cabinet: Check the cabinet for any damage or defects.
- Test the Cabinet: Test the cabinet to ensure that it’s secure and functional.
- Seal the Gaps: Seal any gaps or cracks between the cabinet and the wall.
Tips for a Successful Top Cabinet Installation
Here are some additional tips to help you achieve a successful top cabinet installation:
- Hire a Professional: If you’re not comfortable with the installation process, consider hiring a professional to do it for you.
- Use High-Quality Materials: Choose high-quality cabinets and materials that will last for years to come.
- Follow Manufacturer Instructions: Follow the manufacturer’s instructions for the cabinets and any other materials you’re using.
Common Mistakes to Avoid
Here are some common mistakes to avoid during top cabinet installation:
- Incorrect Measurements: Make sure to take accurate measurements to avoid any installation issues.
- Poor Material Choice: Choose materials that are durable and suitable for your space.
- Inadequate Support: Ensure that the cabinet is properly supported to avoid any damage or collapse.
Conclusion
Top cabinet installation can be a game-changer for your kitchen or bathroom. Not only does it provide additional storage and style, but it can also increase the value of your property. By following the steps outlined in this article, you’ll be able to achieve a successful top cabinet installation that will make your space look amazing.
So, what are you waiting for? Get ready to elevate your space with a top cabinet installation that’s both functional and fabulous!